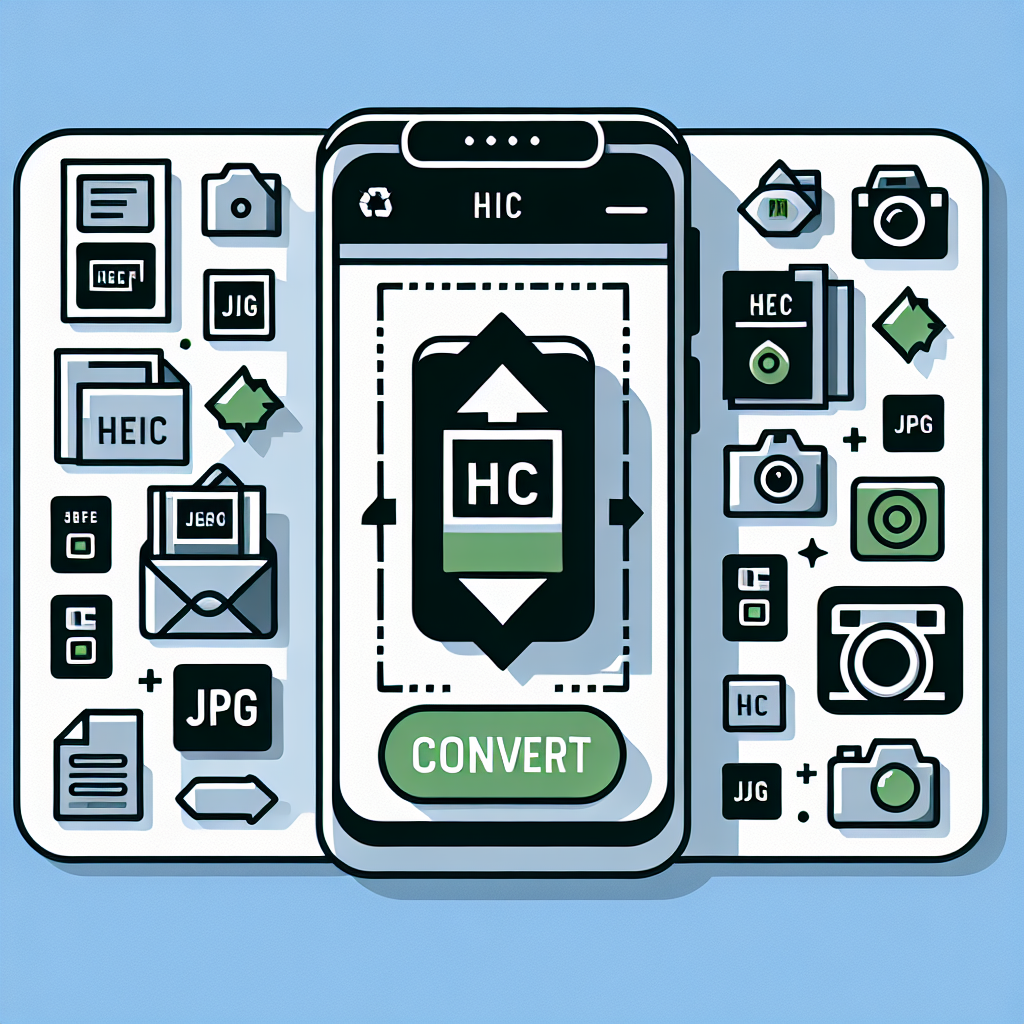
Introduction to HEIC and JPG Formats
HEIC (High Efficiency Image Format) is a modern image format introduced by Apple in 2017. It offers superior compression and higher image quality compared to traditional formats like JPEG. However, not all devices and platforms support HEIC, which is why you might need to convert HEIC to JPG. This guide will walk you through the process of converting HEIC to JPG on your iPhone, ensuring that you can share and use your images seamlessly across different devices.
Why Convert HEIC to JPG?
While HEIC is a highly efficient format, it has limited compatibility. Many websites, social media platforms, and older devices do not support HEIC files. Converting HEIC to JPG ensures that your images are universally compatible and can be easily shared and viewed on various platforms. Additionally, JPG is a widely recognized and supported format, making it a safe choice for most use cases.
Method 1: Using the Photos App
The Photos app on your iPhone has a built-in feature that allows you to convert HEIC to JPG without the need for any additional apps. Here’s how you can do it:
- Open the Photos app on your iPhone.
- Select the HEIC image you want to convert.
- Tap the Edit button.
- Tap the Share button (the square with an upward arrow).
- Choose Copy to Files or Save Image.
- Select a location to save the converted image. If you choose Save Image, the image will be saved in JPG format in your camera roll.
Method 2: Using the Files App
The Files app on your iPhone can also be used to convert HEIC to JPG. This method is particularly useful if you have multiple HEIC images to convert at once. Here’s how to do it:
- Open the Files app on your iPhone.
- Navigate to the folder containing the HEIC images you want to convert.
- Select the HEIC image(s) by tapping on them.
- Tap the Share button (the square with an upward arrow).
- Choose Copy to Files or Save Image.
- Select a location to save the converted images. If you choose Save Image, the images will be saved in JPG format in your camera roll.
Method 3: Using Third-Party Apps
If you need more advanced features or batch conversion capabilities, you can use third-party apps to convert HEIC to JPG. Here are a few popular options:
- HEIC to JPG Converter: This app offers a simple and user-friendly interface for converting HEIC to JPG. It supports batch conversion and allows you to adjust image quality settings.
- HEIC Converter Pro: This app provides a range of features, including batch conversion, image editing tools, and the ability to convert multiple image formats.
- Photo Batch: This app is designed for batch processing and offers a variety of image editing tools, making it a great choice for users who need to convert and edit multiple images at once.
To use any of these apps, simply follow these steps:
- Download and install the app from the App Store.
- Open the app and select the HEIC images you want to convert.
- Choose the desired conversion settings, such as image quality and file format.
- Tap the Convert button to start the conversion process.
- Save the converted images to your camera roll or a specific location on your device.
Method 4: Using Online Converters
If you prefer not to use your iPhone for the conversion process, you can use online converters to convert HEIC to JPG. These tools are accessible from any web browser and can be a convenient option if you need to convert images on the go. Here are a few popular online converters:
- CloudConvert: This online converter supports a wide range of file formats and offers a user-friendly interface. You can upload HEIC images from your iPhone or computer and convert them to JPG with ease.
- Online-Convert: This tool provides a simple and efficient way to convert HEIC to JPG. It supports batch conversion and offers various output settings to customize the converted images.
- Zamzar: Zamzar is a versatile online converter that supports multiple file formats. You can upload HEIC images and convert them to JPG, with options to adjust image quality and file size.
To use an online converter, follow these steps:
- Open your preferred web browser on your iPhone or computer.
- Go to the website of the online converter you want to use.
- Upload the HEIC image(s) you want to convert. You can usually drag and drop the files or select them from your device.
- Choose the output format (JPG) and any additional settings, such as image quality and file size.
- Start the conversion process by clicking the Convert button.
- Download the converted JPG images to your device or save them to a cloud storage service.
Tips for Maintaining Image Quality
When converting HEIC to JPG, it’s important to maintain the quality of your images. Here are some tips to ensure that your converted images look great:
- Choose the Right Quality Setting: Most conversion tools offer options to adjust image quality. Select a higher quality setting to preserve the details and clarity of your images.
- Avoid Multiple Conversions: Converting an image multiple times can lead to a loss of quality. Try to convert your images only once and save the original HEIC files for future use.
- Use Lossless Compression: Some conversion tools offer lossless compression options, which can help maintain the quality of your images without significantly increasing file size.
- Resize Images Appropriately: If you need to resize your images, do so before converting them to JPG. Resizing after conversion can result in a loss of quality.
Conclusion
Converting HEIC to JPG on your iPhone is a straightforward process that can be done using various methods. Whether you prefer to use the built-in Photos app, third-party apps, or online converters, you can easily convert your images to a universally compatible format. By following the steps outlined in this guide, you can ensure that your images are ready for sharing and use across different platforms. Whether you need to convert a single image or a batch of images, the tools and techniques described in this article will help you achieve seamless and high-quality conversions.